
I was surprised to find that there wasn't really anything out there for configuring KVM nodes to store your VM in Linux RAID1 (Granted, probably because most sane people have a dedicated RAID card..). But for those of us who don't or have dedicated server providers that do not have them installed on their machines, I put together a simple guide for storing VPS data in Linux RAID1.
Note that this is for my machine which is running CentOS 7.
Step 1 - Installing Prerequisites
We'll first need mdadm to create our RAID device and lvm2 to create a LG that SolusVM can use.
yum install mdadm
yum install lvm2
Step 2 - Examining our system
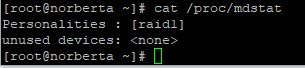
The following command checks if we current have RAID devices already running.
cat /proc/mdstat
Note: If you DO have devices at this point, it will look like the following:
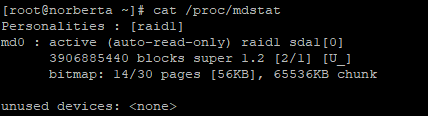
Note that I had a device called "md0" active. I can get rid of that device with the following command.
mdadm --stop /dev/md0
We can run cat /proc/mdstat to verify that the device was removed.
Step 3 - Examining our Disks
IMPORTANT: This step and the following step will destroy data currently on your disk!
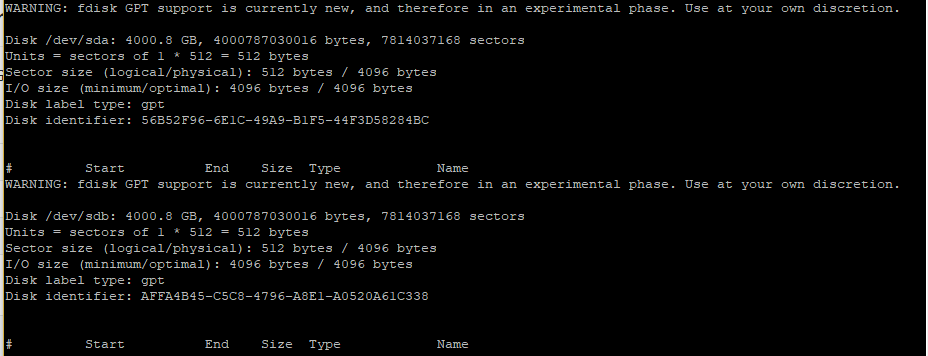
To see all our drives, we'll simply use fdisk.
fdisk -l
The names of the disks I want to RAID together are /dev/sda and /dev/sdb respectively. Yours may be different. For the rest of the guide, you'll want to use your disk names versus mine.
So let's run fdisk on the first drive
fdisk /dev/sda
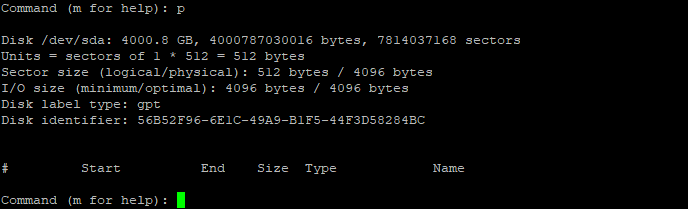
We need to check to make sure we don't have any partitions on the disk prior.
p
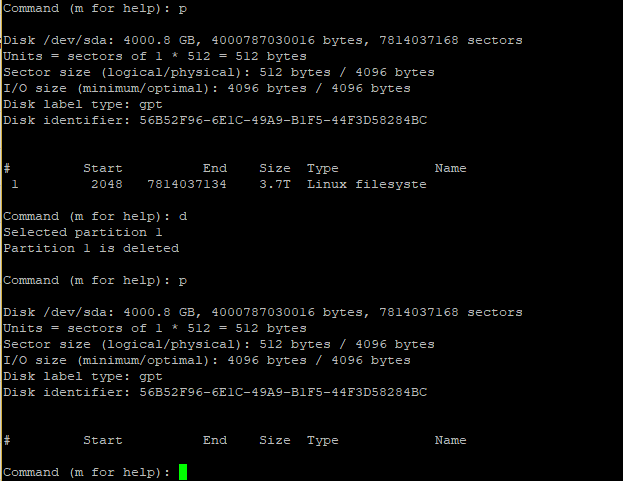
Note: If we do have any partitions, we can use "d" to delete them.
d
p
Step 4 - Creating new partitions
Assuming that you're still in fdisk (your prompt should be "Command (m for help):" or similar), let's go ahead and create the new partitions. After typing in "n" for new partitions, we'll press enter to accept the default values for partition number, first sector, and last sector.
n
[enter]
[enter]
[enter]
p

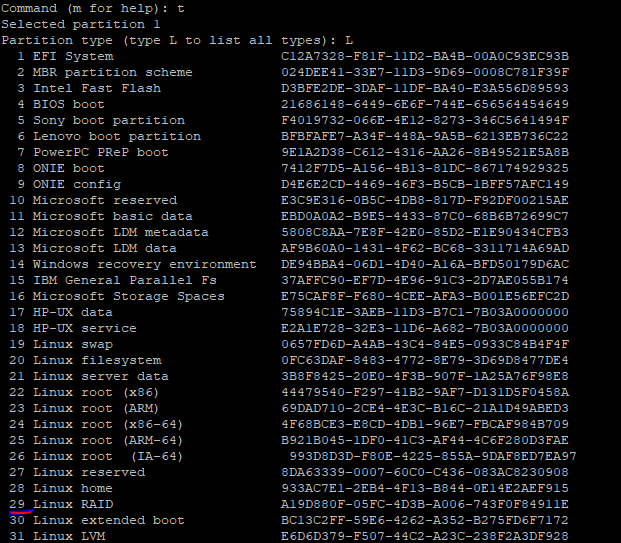
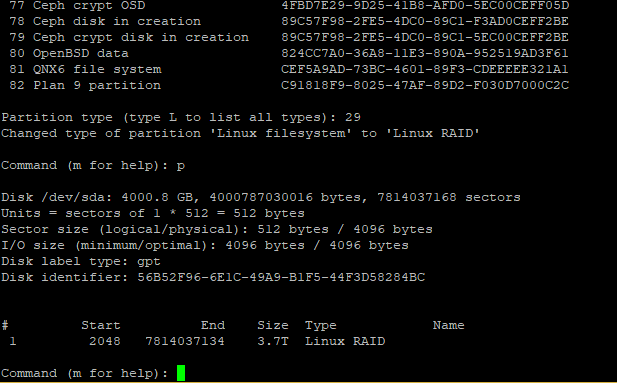
Since the type of filesystem is currently "Linux filesystem", we want to change that to "Linux RAID". Note that after typing in L, you want to choose the number that's next to "Linux RAID". For me, it was 29. For you it may be different. We'll confirm the changes with our usual "p" command.
t
L
29
p
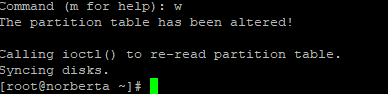
Everything looks good. Let's type in "w" and write our changes to the partition table. fdisk will exit and drop you back into SSH
w
Repeat step 4 for /dev/sdb. In the end, we want sda and sdb to have partitions of the same size and be of the Linux RAID type.
Step 5 - Creating our RAID1 Device
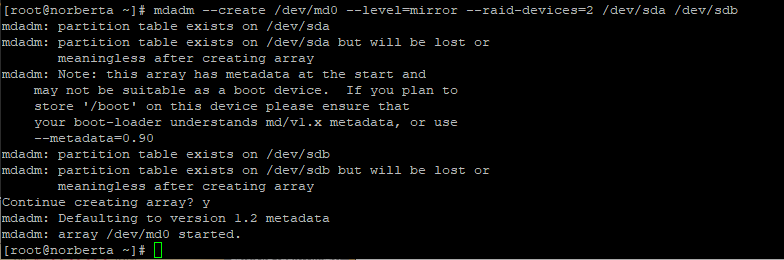
We use mdadm to create our new raid device. Usually people seem to call it md0, so that's what we'll call ours. Since we're not using this as a boot device, we don't need to worry about passing the metadata flag.
mdadm --create /dev/md0 --level=mirror --raid-devices=2 /dev/sda /dev/sdb
Running our cat command now shows our new device as active!
cat /proc/mdstat

We can use mdadm to show information about our new RAID array.
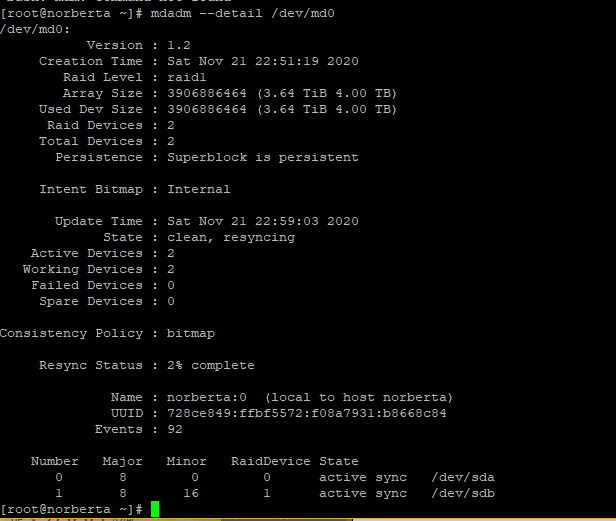
mdadm --detail /dev/md0

Step 6 - Creating the logical volume
Almost there, now we only need now is to make this RAID devices a physical volume and create a logical group.
pvcreate /dev/md0
vgcreate -s 32M solusvm /dev/md0

Perfect! And we're done! All that's left is to use "solusvm" as the logical group when adding the KVM node to the master!